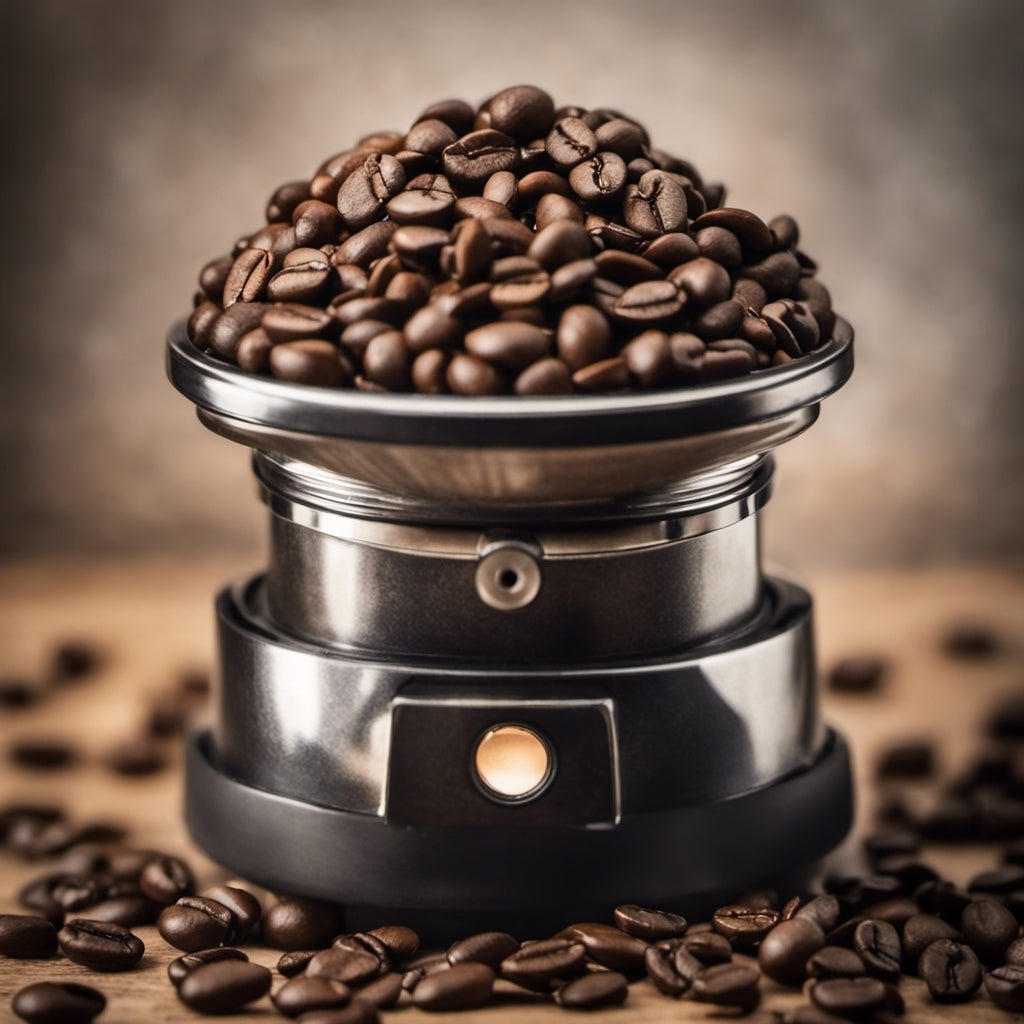
How to Store your Coffee

For longevity, preserving texture and taste
The best place to store coffee beans is in the fridge, right? Wrong! Do this instead: store them in an air-tight container. But more than that. Make it an opaque container stored at room temperature, and your coffee will retain its freshness.
Storage should be prioritised
Your goal should be to store your coffee for as long as possible, without reducing its quality. Don’t make the all-too-common mistake of failing to place as much emphasis on coffee storage as you do on preparation. Both processes are equally important. One could even argue that storage is paramount. Poorly stored coffee will hardly result in excellent tasting coffee, after all.
Always choose preservation over presentation
Of course, it’s tempting to store coffee beans in clear plastic canisters or glass containers, as that can look great, but it can accelerate the staling process, which is exactly what you’re trying to avoid. Focus upon retaining freshness and preserving coffee flavour and aroma by storing it in airtight containers or bags, where oxygen can’t get at it, and in a cool place unreachable by sunlight or UV rays.
Feel reassured
Refusing to compromise on the freshness of your coffee involves time, effort, knowledge and suitable storage space. But it will prove well-worth it when it comes to taste, texture and aroma, as well as providing you with something priceless:
Coffee freshness peace of mind.
How to make latte art

Create a gorgeous pattern on a latte coffee drink’s surface
Develop your knowledge and skills as a barista by getting to grips with beautiful latte art. Heart shapes, flower patterns including the popular Rosetta and Tulip, leaves, myriad other pretty designs… Latte art is fun; immensely satisfying to do; and is rapidly becoming a necessary, expected skill for all practising baristas.
Here’s how to do it
1. Make sure that you’ve prepared a good espresso base, and that your jugged milk is textured properly, with the foam being as it should be.
2. Starting high, pour your textured, steamed milk (aka crema) into your cup of coffee; we’re going to use the light foam finish to ‘draw in’ the design. Aim for the cup’s middle, to ensure an even design that isn’t biased to one side.
3. Get your cup about three quarters full and pour in evenly so that it covers the surface of the coffee. And as you pour, whilst maintaining your pour speed and position, lower the jug’s spout.
4. Let the milk settle.
5. Wait until your milk resembles a velvety texture.
6. Swirl your milk for half a minute, using a wiggle movement. Don’t overdo this, though; maintain composure and control.
7. Now, using a stacking approach, build up your layers, progressing almost to your cup’s rim.
8. Find your inner Rembrandt or Cezanne (!), by drawing in your design, slicing through the milk, keeping your pattern symmetrical and, again, unbiased to one side of your cup. While doing this, it would help to drop the pour from your jug back a little, so tilt your jug a bit.
As with anything, perfecting latte art techniques takes practise, practise, practise. Don’t expect awesome results immediately. With each attempt, you’ll master correct pour speeds, distances from the cup, and middle positioning.
Lattes without limits
Well, as with any form of art, there are no ‘rules’, but following these instructions should see you get a firm grasp of the essential latte art fundamentals, before taking things to the next level, and then higher, to the point where you can be as artistically experimental as you want to be.
The most common mistake inexperienced baristas make in latte art? Deviating their jug pouring from the cup’s middle area. Don’t do that. When pouring your steamed milk, remain mindful of the flow, position and height, and you’re well on your way to creating a latte art masterpiece.
How to make barista milk

Foam, froth and textured milk for hot beverages
Critical to becoming a Master Barista is knowing how to make perfect barista milk. This is one of those skills that appears easy, when performed by an experienced professional, but is harder than it looks if you want to do it well.
The first building block in all this is learning how to foam. Few coffee drinks are made without it. Why? Because aerating milk (putting air into it, basically) always enhances hot drinks’ texture and taste, helping towards serving up immaculately crafted cappuccinos, macchiatos, lattes and other popular beverages.
So, let’s start foaming!
1. Using cold milk (fresh whole milk or skimmed, depending upon the drink) fill your jug a third of the way. Why not further up? Because you need to leave room for milk expansion, which always happens once you’ve put the steam arm in. Let’s do that now…
2. Actually, hold fire. First, remove any remaining water in the steam arm from its last use. This is known in the trade as purging. Purging your steam arm for five seconds into the drip tray before foaming your milk is essential – get rid of any standing water and prepare the arm for a pressure build up before using it again.
3. Now, place the steam wand’s tip just below the milk’s surface, resisting the temptation to go deeper.
4. Turn on the steam arm and watch your milk froth.
5. Keeping the steam wand’s tip where it should be, just below the liquid milk’s surface as the froth builds, raise your arm, but in an unhurried way (no jolting, no sudden lifting movements…). Focus upon keeping the wand’s tip submerged in the liquid and not the froth.
6. Wait for the gauge to reach your required temperature.
7. Your foam’s ready.
8. Clean the steam arm with a damp cloth.
Texturing steps
1. Lift your jug, again, with the steam wand just below your milk’s surface.
2. But this time, you want your wand not central but towards the side of your jug.
3. Holding your jug at an angle, watch your foam slowly smooth out and the bubbles disappear.
4. Turn your steam arm off when the temperature gauge hits 60°C.
5. Add your milk to your prepared coffee drink.
Look forward to improving with every cup
Like anything, making barista milk should get better with practise, and through learning from experienced baristas. Get the basics right, and take no shortcuts, and you’ll find your barista milk-making proficiency improves with every cup. Your goal should be to make the best barista milk that you can; and this should be appetising smooth milk that’s flat and mostly bubble-free.
Good luck!
How to make the perfect French Press coffee

Why it pays to be a patient plunger!
How do you make a perfect cafetière (aka French Press or coffee plunger) of coffee? What are the most common mistakes that baristas and other coffee-lovers make during the process? What’s the key to avoiding ground coffee particles collecting on the drink’s surface every time, weakening flavour, texture and aesthetic appeal? And, how can you absolutely ensure a lovely tasting drink, brew after brew after brew?
Take it step by step, and never rush
1. Always use coffee grounds, not beans
2. Use a coarse, almost grit-like grind
3. Ratios? For a 6-cup cafetière, aim for 48g of ground coffee per 800ml hot water
4. Always warm up the cafetière first, preheating it and the cups with hot water
5. Sprinkle your coffee grounds into the cafetière, always using fresh grounds
6. Pour in 1/3 of hot water
7. Leave to stand for half a minute, no longer
Then:
8. Add the remaining two thirds of hot water
9. Now steel yourself to be patient. Leave the French Press to stand for three minutes, and not less than that
10. Stir the coffee a little, breaking the crusty top surface of it
11. Place the plunger on top of the cafetière, then pause…
12. When ten seconds have elapsed, the coffee will have settled
13. Slowly and in a measured way, press down on the plunger
14. Re-plunge, if needs be
Your coffee should now be ready to pour. Enjoy.
How to set up a grinder (for espresso)

What you absolutely need to know, to achieve consistent results
It’s no exaggeration to state that your café’s fortunes could depend upon the quality of your grinding machine, and how well it’s set up. Really. Why? Because your grinder plays a critical role in you achieving your primary aim: to consistently get high quality coffee out of your espresso machine, to ensure that customers are 100 per cent happy, keep coming back for more, and recommend you to others.
Learn how to adjust coarseness and dosage
Coffee grinders can differ in quality, price and size, of course, but they all basically perform the same function. We will carefully adjust the dosage of your coffee and the coarseness, depending upon your requirements. This will impact upon the coffee quality and the speed at which it comes out of your espresso machine. The good news is that you can if required adjust the grinder yourself which isn’t an unduly demanding task.
- Your grinder will have two blades (or burrs)
- To achieve how fine or coarse you want your coffee grounds to be, adjust the top burr
- Always adjust it in small increments, one notch at a time on the ring. What you’re doing here is changing the shot extraction time (e.g. the extraction time for an espresso drink is 25 seconds approx.)
- To remove any old coffee grounds, switch the grinder on for about ten seconds. That should clear the grinder’s chamber.
- Don’t dive straight into preparing your first espresso of the day, and confidently serving it up to a paying customer. Instead, make a test drink – just to be on the safe side, to be sure that your espresso extraction is correct and the resulting hot drink tastes as it should. When you’re satisfied that it does, you’ve found your espresso ‘default setting’. Jot it down.
- Or, if you’re still not convinced by your test drink, do it all again. Keep repeating the test process until you’re sure and have confidence in your grinder. Your adjustments to your grinder need only be tiny ones, to tweak the shot extraction time until it is perfect. We might only be talking about two or three seconds in extraction time here, but even that can make all the difference to your desired end result later.
How to make a perfect espresso

Create the unmistakable taste of Italy by learning to prepare and serve espresso that’s as good as it gets
Pulling a great espresso – a very concentrated, strong flavoured coffee drink of Italian origin – can be immensely satisfying, making it a particular skill that all baristas strive to master. So, what’s involved in pulling the perfect shot?
First things first, you’re going to need an espresso machine: those coffee machines you see in most cafés, bars and restaurants these days. But, before you start grinding, brewing and steaming, it’s vital that your equipment is nice and clean at the outset: to ensure optimal taste and texture, and to facilitate smooth operation of the machine, cup after cup; you may be serving up hundreds of drinks in a single shift, after all.
Any type of coffee bean can be used to make an espresso, so don’t fret about having “the right kind of beans”. What you’re basically going to do is pass hot water, with pressure, through coffee.
1. Don’t start grinding your coffee until you’ve ensured that your portafilter – the spoon-shaped device that holds the ground espresso beans during the brewing process – is cleaned out. Be quick, though. Dry it well and be ready to use it while it’s still hot.
2. Using your grinding machine, grind your coffee, catching it in your portafilter basket.
3. Give your portafilter a couple of taps on the grinder base, to remove any unwanted air pockets and to generally settle the bed of coffee grounds.
4. Reach for your tamper now. Press your coffee bed gently at first, then give it a firmer press, until your coffee bed looks nice and compacted.
5. Give your group head a quick clean, flushing away old grounds with water before clamping your portafilter into position.
6. Now that your coffee bed is just so, give your portafilter’s rim a wipe before locking it into the group head. A quick twist of your wrist is all it should take to lock your portafilter, aka group handle into place securely, but without snapping it or damaging the group head’s locking device either.
7. With a cup or shot glass placed correctly, pull the espresso, by setting the programmable button to Brew. Look to achieve a consistent brewing time of 25 seconds.
8. What you want to achieve is a hot coffee drink in a light brown to dark brown shade.
9. Serve.
Coffee Jargon

Key coffee terms and definitions explained
Arabica, tamper, French Press, portafilter, Viennese Roast, Ristretto… there’s a lot to remember, isn’t there? If you’re feeling a little confused, or even bewildered by the sheer number of terms relating to coffee, don’t fret; you’re not alone.
To help you, Tudor Tea & Coffee has put together a handy reference:
ACIDITY – This relates to taste: the coffee’s vigour, how sharp it is, how bright. Most of us enjoy coffee’s slightly tart flavour, its pleasant “acidity”.
AEROPRESS – A coffee brewing device. Decide upon your chosen grind and strength, then steep the coffee for 10–50 seconds. Now press the plunger through a tube, forcing the coffee through a filter.
AMERICANO – We’ve all heard of this one. An Americano is basically just hot water and espresso. Zero milk.
ARABICA – A commercial coffee plant, native to Ethiopia. It’s widely used and essential to the coffee industry.
AROMA – The smell of freshly ground and/or brewed coffee. That’s it.
BARISTA – A skilled espresso bar worker, able to prepare and serve all types of coffee drinks and other hot beverages.
BLEND – A mixture of two or more coffees of single origin.
BODY – A coffee drink’s richness and thickness. How it feels in your mouth.
BREW STRENGTH – The coffee amount dissolved into the cup.
BREW RATIO – The amounts of dry coffee and water used during the brewing process.
CAFÉ AU LAIT – Combines one-third coffee with two-thirds frothy milk, to create a delicious and satisfying hot coffee drink.
CAFFEINE – This bitter compound is odourless and gives coffee its stimulating effect.
CAPPUCCINO – An espresso drink, and a hugely popular one. Simply top one serving of espresso with steamed milk and froth, maybe sprinkle some chocolate on top, and then serve.
CREMA – A thin layer of foam (with a kind of caramel, golden look) that tops an espresso, covering its surface.
CLEAN – If a coffee’s flavour possesses no discernible defects, it’s known in the trade as being “clean”.
DARK ROAST – A strong roast that can also be bitter, as well as medium-dark in colour.
DECAFFEINATED – Basically, coffee that’s had most of its caffeine content removed. Ninety-seven per cent of it taken out, to be exact.
DEGASSING – When you release the gas from roasted coffee beans – a natural process – this is called degassing, and prevents the coffee from becoming stale.
DOPPIO – A double espresso, i.e. when a single shot just won’t do.
ESPRESSO – Espresso literally means “pressed-out coffee”. Pressurised hot water is forced through ground coffee (a compressed bed of it), as a brewing method that’s popular all over the world.
EXTRACTION – Sometimes flavours, oils and solids must be removed from ground coffee. This process is known as Extraction: drawing flavour from the coffee grounds.
FLAT WHITE – This is essentially a double shot of espresso coffee drink topped with microfoam (steamed milk with small fine bubbles and a glossy or velvety consistency).
FRENCH PRESS – Also commonly known as a cafetière, a French Press is a coffee brewing device designed so that a strainer plate can be slowly pushed down by hand, separating the brewed coffee from the spent grounds.
FRENCH ROAST – A lovely dark roast, deep brown in colour and with a decidedly bittersweet flavour.
